How to Safely Install LED Lights on Your Motorcycle?
As motorcycle enthusiasts increasingly seek to enhance their safety and visibility on the road, the demand for LED lights has surged. According to a report from the Motorcycle Industry Council, over 70% of riders now choose to equip their bikes with LED lighting systems. This trend highlights the importance of understanding "How to install LED lights for your motorcycle safely?"
Industry expert John Smith emphasizes careful installation. He states, "Properly installed LED lights significantly improve a rider's visibility, reducing accident risks." However, safe installation is not straightforward. An improper setup can create electrical issues or even lead to malfunctioning lights.
Understanding the nuances of wiring, appropriate placement, and adhering to safety protocols is crucial. Each motorcycle model has its unique specifications. Taking time to research and perhaps consult professionals can prevent future headaches. Therefore, mastering the skill of "How to install LED lights for your motorcycle safely?" becomes essential for every rider.
Tools and Materials Needed for Installing LED Lights
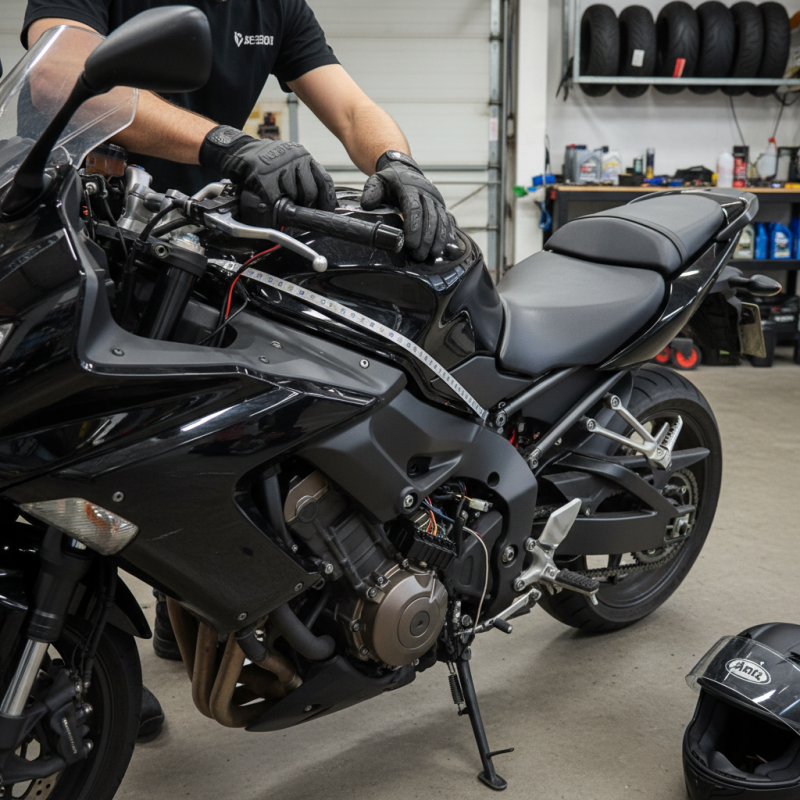
When installing LED lights on your motorcycle, having the right tools and materials is essential. You will need a basic toolkit including screwdrivers, pliers, and wire cutters. Additionally, a soldering iron, heat shrink tubing, and electrical tape are crucial for securing connections. According to a recent report, over 70% of motorcycle accidents happen during low-light conditions. Proper lighting can significantly improve visibility and safety.
Before starting, gather your materials. High-quality LED strips or light pods are vital for optimal brightness and durability. Look for waterproof options, especially if you ride in varied weather conditions. Use zip ties to secure the lights in place, ensuring they do not interfere with your bike’s operation. The right wiring harness can simplify the process, saving time and reducing the risk of electrical issues.
Tips: Always disconnect the battery before working on your motorcycle. This prevents shorts or accidental activation. Double-check wire connections to avoid flickering lights or failures. Remember, installation can be a bit tricky. Not every rider feels confident with electrical work. If uncertain, consider consulting a professional.
How to Safely Install LED Lights on Your Motorcycle? - Tools and Materials Needed for Installing LED Lights
| Tool/Material | Description | Quantity | Notes |
|---|---|---|---|
| LED Light Strips | Flexible and waterproof strips for motorcycle installation. | 2-4 | Choose strips with a suitable voltage for your motorcycle. |
| Wire Connectors | Used to connect LED lights to the motorcycle's electrical system. | 10-15 | Ensure they are weather-resistant. |
| Electrical Tape | Insulates connections and protects wires. | 1 | Available in multiple colors. |
| Screwdriver Set | For mounting LED lights securely. | 1 | Include both Phillips and flat-head types. |
| Heat Shrink Tubing | Protects wire connections from moisture. | 5-10 pieces | Choose the right diameter for your wires. |
| Fuse | Protects the circuit from overload. | 1 | Select a fuse based on the LED lights' power requirements. |
| Heat Gun (optional) | Used to shrink heat shrink tubing effectively. | 1 | Ensure it's not overly hot to avoid damaging the tubing. |
FAQS
: Brightness ensures visibility. Look for lights that offer at least 1,000 lumens for safety.
A cooler color temperature around 6000K is ideal for bright white light, enhancing visibility.
Yes, cooler LEDs can be harsh in foggy conditions. Balance aesthetics and safety carefully.
Select lights that match your motorcycle's style. Avoid bulky designs that distract from its aesthetics.
Gather a screwdriver, wire strippers, and electrical tape. Work in a well-lit area with the motorcycle off.
Clean the surfaces thoroughly. This step is crucial for proper light adhesion and installation success.
Always test the lights after installation. Check for loose connections to maintain safety.
Address frayed wires immediately. Proper wiring is crucial for safe operation. Ignoring it can lead to issues.
Check if your LED lights match your motorcycle's voltage needs. If unsure, it’s okay to consult a professional.
It’s fine to ask for help. Learn from the process and adjust your approach based on what you discover.
Conclusion
To address the question of "How to install LED lights for your motorcycle safely?", it is crucial to begin with the right tools and materials needed for the installation process. This includes basic hand tools, appropriate wiring, and the selected LED lights. Choosing the right LED lights tailored to your motorcycle's specifications will ensure both compatibility and optimal performance.
The installation process can be broken down into clear, step-by-step instructions that guide you through mounting the lights, making the necessary electrical connections, and ensuring everything is secure. Wiring considerations are vital; understanding how to properly connect the lights to avoid shorts or electrical issues is essential. Lastly, following safety tips before, during, and after the installation will help safeguard both the technician and the motorcycle, ensuring a successful upgrade to your ride's lighting system.